COMP 3000 2011 Report: Zentyal: Difference between revisions
| Line 41: | Line 41: | ||
If you aren't prompted, you can boot up the file using VirtualBox. From the image below: | If you aren't prompted, you can boot up the file using VirtualBox. From the image below: | ||
Devices > CD/DVD Devices > Choose a virtual CD/DVD disk file... | |||
: | |||
[[File:Boot_from_cd.png|500px]] | |||
After you have selected your disk image to boot, restart your virtual machine. It will automatically boot your Zentyal disk image. | |||
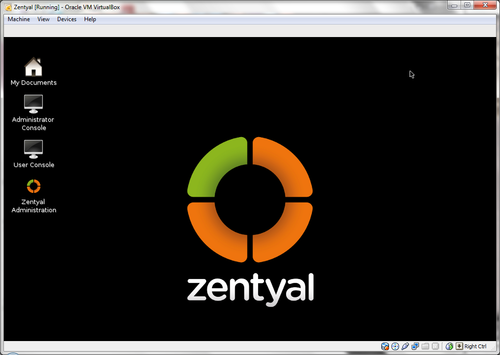
[[File:Desktop1.png|500px]] | [[File:Desktop1.png|500px]] | ||
Revision as of 21:15, 14 October 2011
Part 1
Background
Zentyal was formerly known as the eBox Platform since it was developed by eBox Technologies. It's an open source unified network server software package (or a unified network platform). It includes development framework to ease development of new Unix based services. It is targeted at network administrators as it offers easy and efficient computer network administration for small and medium sized businesses because Zentyal can provide various networking services such as a gateway, network infrastructure manager, unified threat manager, office server or unified communications server or a combination of them.
The operating system can be obtained from the official site (zentyal.org) for free of charge. It is 625,224KB big in a disk image format.
Installation/Startup
For the purpose of this report, Zentyal is installed on a virtual machine using VirtualBox (VirtualBox). The disk image can be downloaded from the official site of the Linux OS (Zentyal).
VirtualBox setup
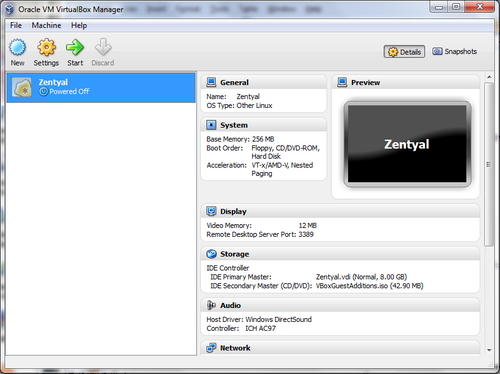
After you've downloaded Zentyal's disk image, a virtual machine needs to be created with appropriate settings. The configurations for my virtual machine were mainly default:
- Welcome page
- Nothing needed to be done here
- VM name and OS type
- Name: Zentyal
- Operating System: Linux
- Version: Other linux
- Memory
- 256MB
- Virtual Hard Disk
- Have the start up disk checked then create new hard disk
- Welcome to virtual disk creation wizard
- select VDI
- Virtual disk storage details
- Dynamically allocated
- Virtual disk file location and size
- The default setting is fine
When everything is all set up, it should now display the Summary of your virtual machine's specifications.
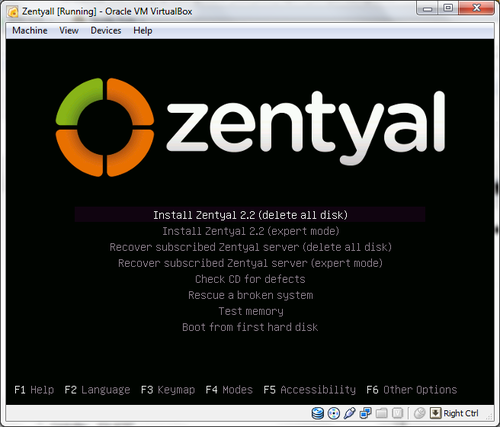
After you have successfully created your virtual machine, power it on by double clicking on the name of your virtual machine (in this case, Zentyal). The first time you power on your virtual machine, it will ask you how you want to boot up. You would want to boot up the Zentyal OS file (disk image) that you downloaded from the site.
If you aren't prompted, you can boot up the file using VirtualBox. From the image below: Devices > CD/DVD Devices > Choose a virtual CD/DVD disk file...
After you have selected your disk image to boot, restart your virtual machine. It will automatically boot your Zentyal disk image.
Basic Operation
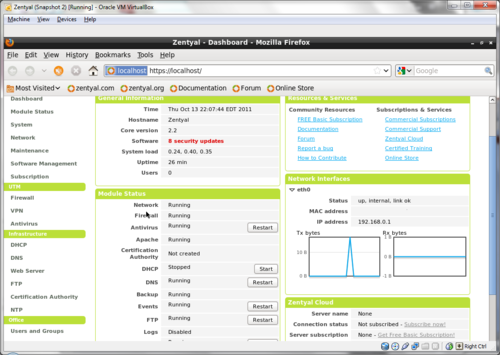
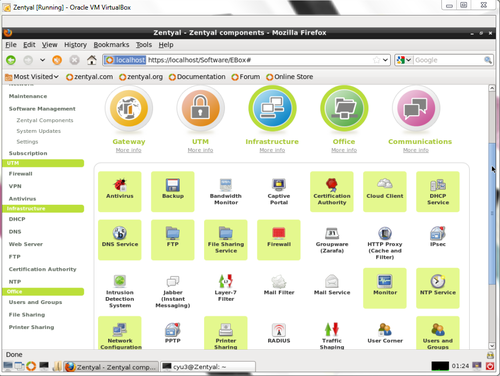
- describe experience in using the distribution for simple use cases (use intended purpose) - if unable, explain why - Zentyal can be used as: - a gateway and firewall for internet connection - server for network (local or internet services) - - explain any problems encountered - include screenshots of some typical or interesting activities
Usage Evaluation
References
http://www.distrowatch.com/table.php?distribution=zentyal. Retrieved 2011-10-12
http://www.zentyal.org/. Retrieved 2011-10-12
