Difference between revisions of "Mobile App Dev 2021W: Getting started with Xcode"
| Line 23: | Line 23: | ||
You should next see a project options screen that looks like the following if you've never run Xcode before: | You should next see a project options screen that looks like the following if you've never run Xcode before: | ||
[[File:Xcode- | [[File:Xcode-ProjectOptions.jpg|800px|Xcode project options]] | ||
From here, you'll need to add an Apple account. Click on Add Account, and it should take you to the following screen: | From here, you'll need to add an Apple account. Click on Add Account, and it should take you to the following screen: | ||
[[File:Xcode- | [[File:Xcode-AddingAccount.jpg|800px|Xcode adding account]] | ||
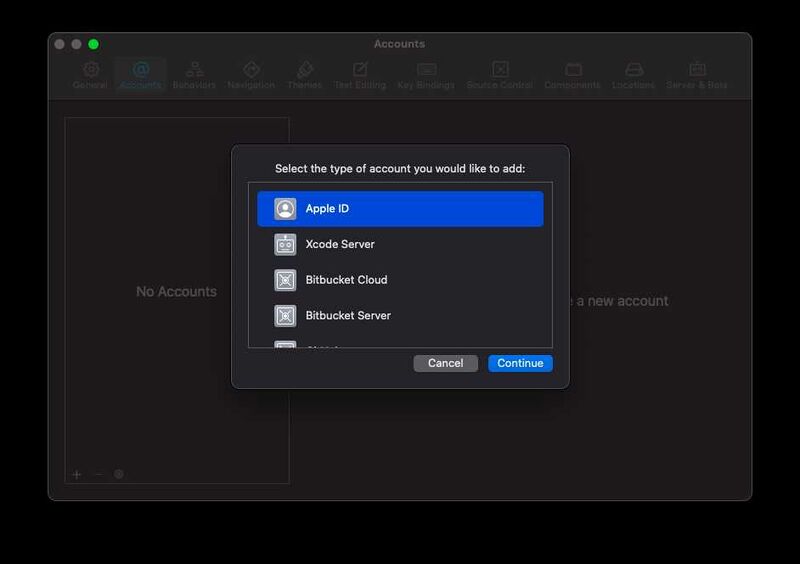
Note that you do not have an account. So, click on Add Account and you'll see a dialog with a list of configured accounts: | Note that you do not have an account. So, click on Add Account and you'll see a dialog with a list of configured accounts: | ||
Revision as of 00:11, 17 January 2021
Below are instructions on how to get a first SwiftUI app running in Xcode and ready to install on one of your iOS devices.
To follow this, you'll need a machine running MacOS Catalina or Big Sur and an Apple ID. You do not need a developer account; however, make sure that your device uses the same Apple ID as the one you configure below.
Installing Xcode
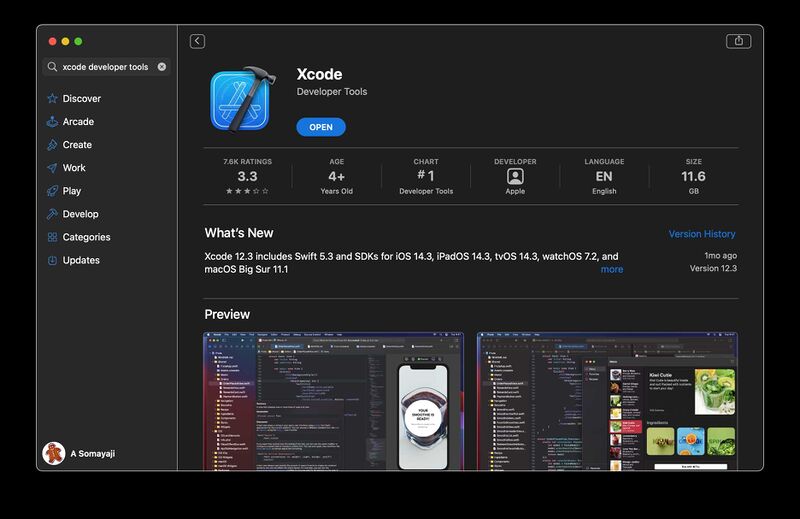
First, you need to download Xcode from the Mac App Store. Once you find it, installing it should be as simple as clicking on the install button. Once installed, you should see a screen that looks something like this:
Creating a project, part 1
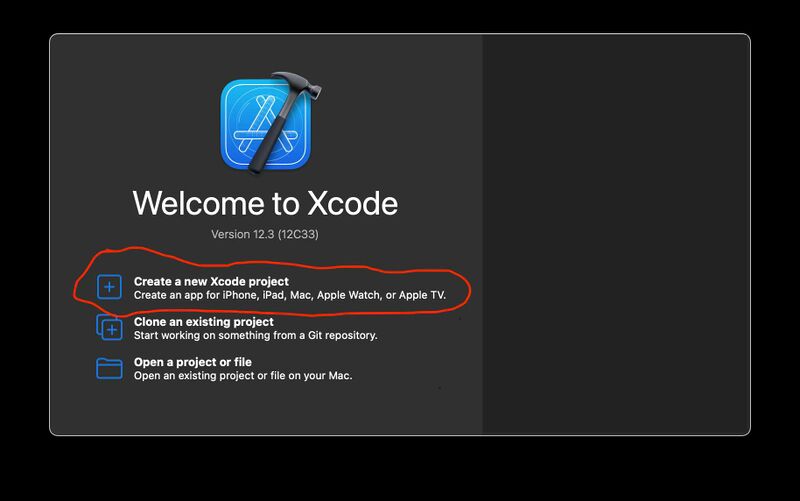
Once you have Xcode installed, run it. When it starts, you should see a splash screen, as shown below. Click on create project as shown.
If you don't see this screen, don't worry, just select File->New->Project through the top of screen menus.
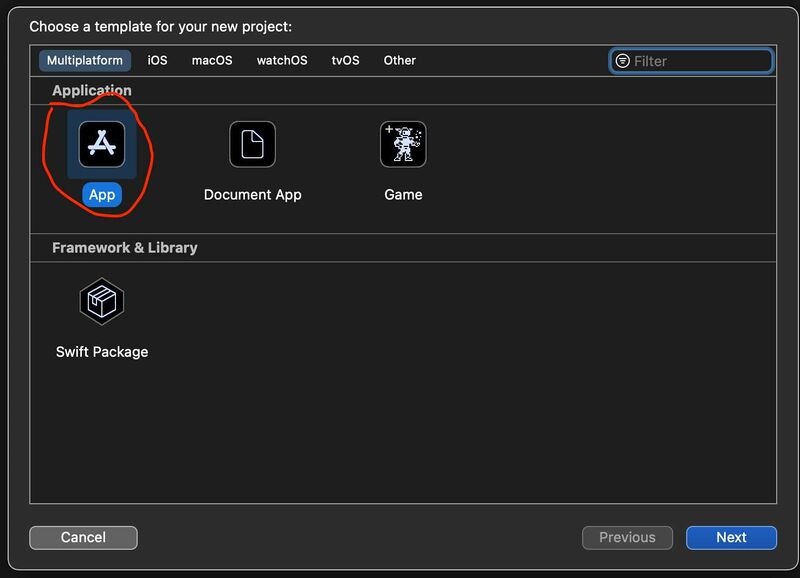
You'll now be asked to select a template. Select the multiplatform app template, as shown here:
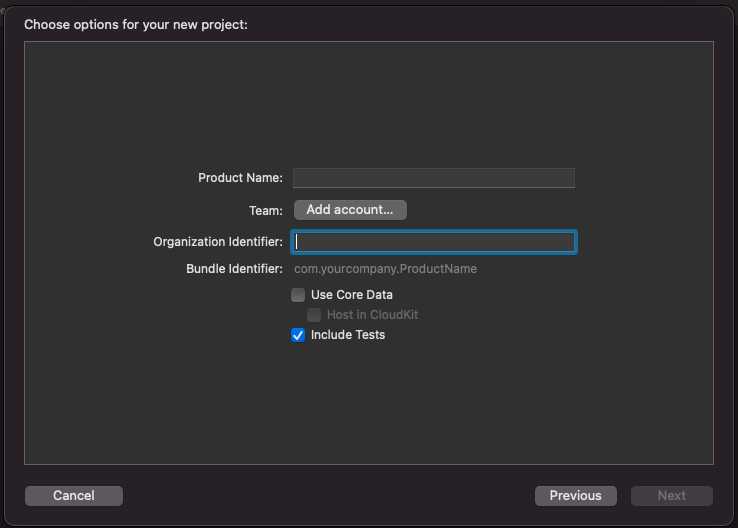
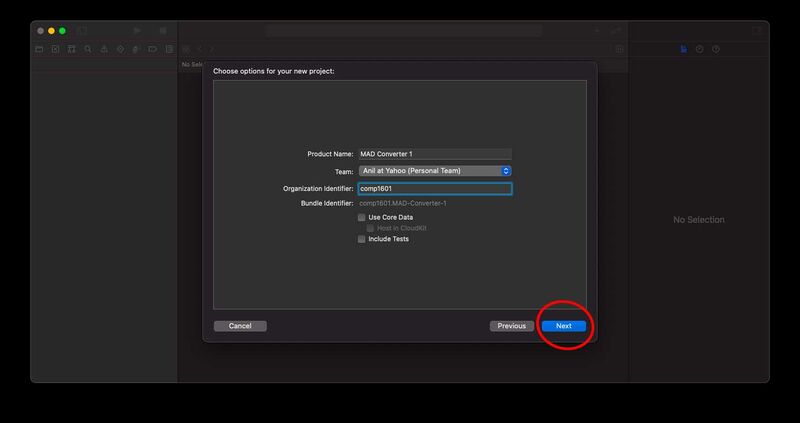
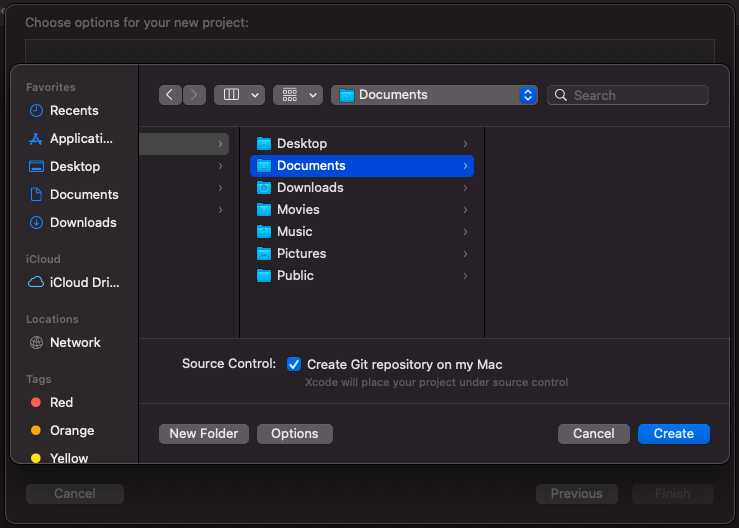
You should next see a project options screen that looks like the following if you've never run Xcode before:
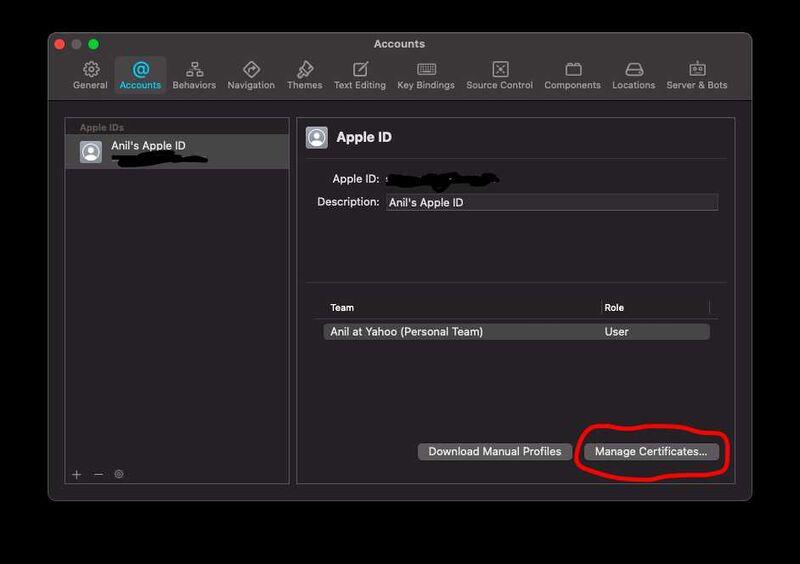
From here, you'll need to add an Apple account. Click on Add Account, and it should take you to the following screen:
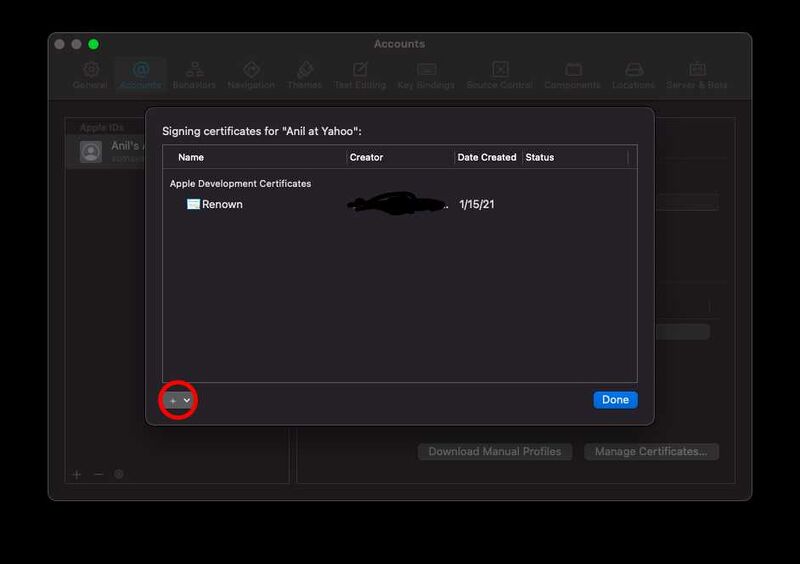
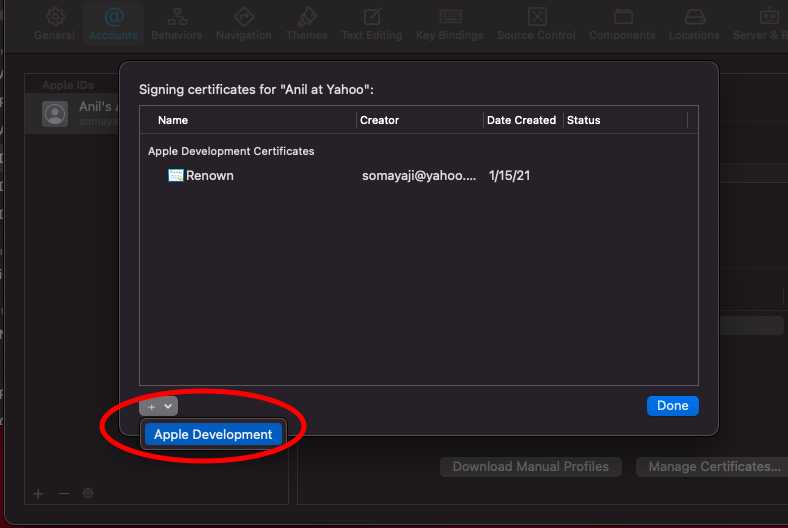
Note that you do not have an account. So, click on Add Account and you'll see a dialog with a list of configured accounts:
